Alarm Handling
Omnyvore has a simple means of defining and then handling alarms. Alarms can be seen through the notification bell and the Alarm view.
Omnyvore also comes with an assignment concept, which is similar to the one often present in an issue tracker. As the number of alarms starts to increase, it would become a burden to keep track of which alarms were analyzed (and eventually solved) and which have not been seen yet by any human operator. This is why when you assign an alarm to yourself, you explicitly claim that you are taking over the management of that specific alarm.
Notification bell
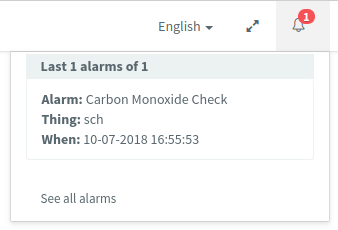
There is a notification bell placed in the top-right corner of each page.

After an alarm is raised, a badge will appear with a number counting the alarms raised.

If you click on the bell, you will open a small panel containing alarm notifications, which come with the alarm name, the resource id of the thing that raised the alarm and the date which the alarm was raised on.
By clicking on a single notification, you will open the alarm's details in a dedicated window.
If you want instead to have a broad view on all the alarms which have been raised, clic on the See all alarms link at the end of the notification panel.
Alarm view
By clicking on the Alarms button on the sidebar, you will enter the Alarm list view.
![]()
In this view, you will see the alarms occurred during the last 24 hours.
However, if you need a broader time range, you can extend it by clicking on the Show filter button in the upper part of the page and selecting a different combination of start/end date and hour.

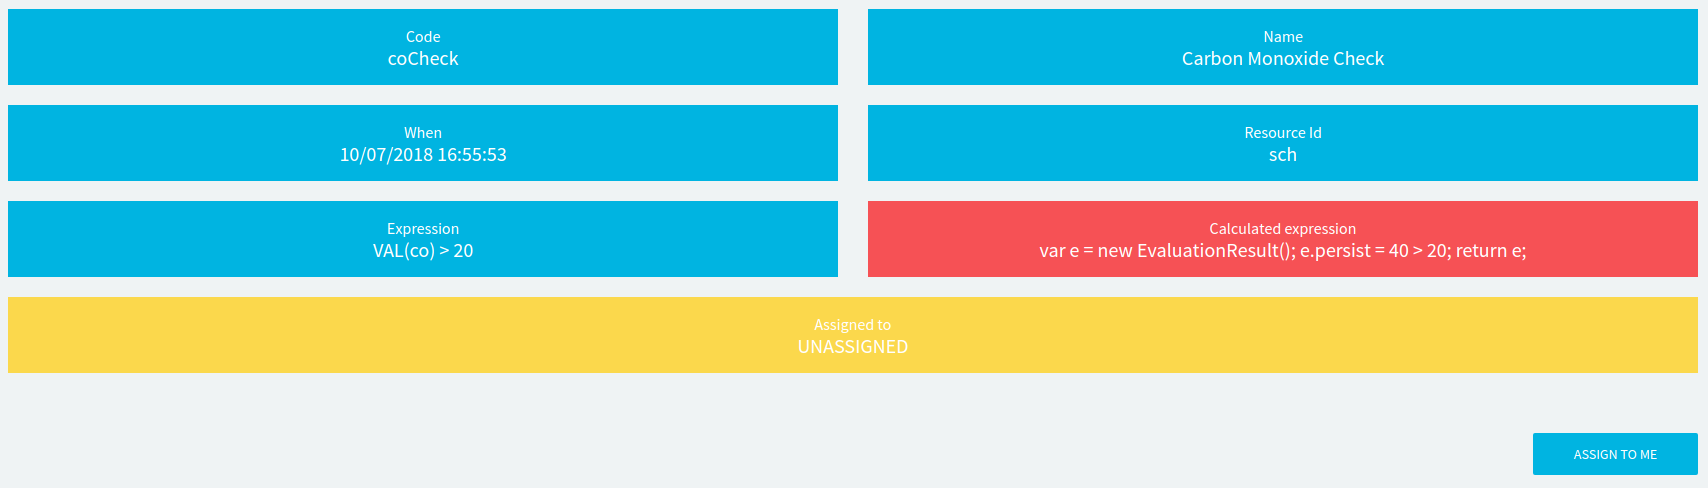
By clicking on a single alarm, you will open a detail view for it, in which you might be able to understand why the alarm happened.
Alarms can be assigned in both the list and the detail view described above:
- to assign one or more alarms in the Alarm list view:
- select the alarms you want assign yourself by checking the boxes at the beginning of their respective row;
- select the Assign to me action in the table header;
- click on the Apply button in the table header.
- to assign an alarm while in the Alarm detail view, click on the Assign to me button placed in the bottom-right corner of the view.